Prologue
System Requirements
- A DigitalOcean account
- Git
If you want to try local deployment before putting your Lightweight CMS site online, check our previous article.
Prepare a Lightweight CMS Site
Clone Lightweight CMS locally and rename it:
$ git clone https://github.com/cwchentw/lightweight-cms.git mysiteChange your working directory to root path of the cloned repo:
$ cd mysite$ git remote set-url origin https://example.com/user/mysite.git
$ git push -u origin masterThis step is mandatory because DigitalOcean App Platform will fetch code of your Lightweight CMS site from a remote repo.
Run Your Site Locally First
Before deploying a site to a PaaS, you should always try your code locally. Here are steps to run your Lightweight CMS site locally:
$ ./tools/bin/publish
$ cd public
$ php -S localhost:3000
tools/bin/publish is our utility script to deploy a Lightweight CMS site to a PaaS. The script will copy router of Lightweight CMS and assets to public directory. It resembles tools/bin/serve but the former won’t call builtin server of PHP automatically.
Initial Deployment
On initial deployment, a PaaS will fetch your code from a remote repository, trying to build and deploy your website or web application. The article takes DigitalOcean App Platform as an example to demonstrate the process.
Choose your source:
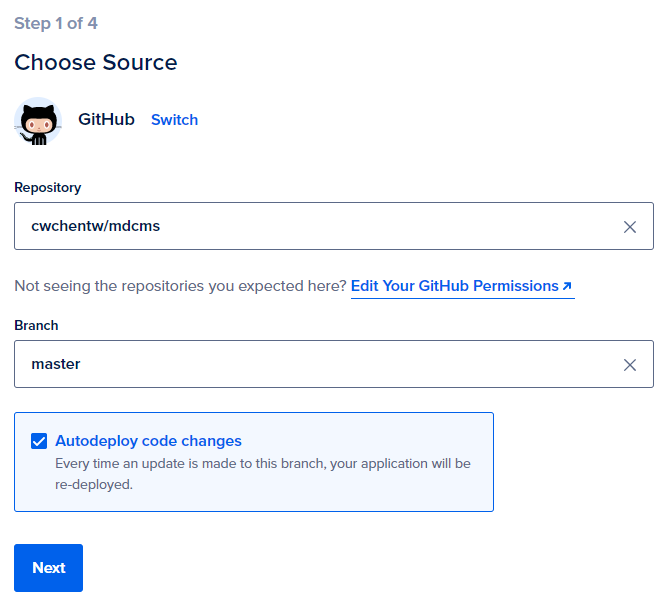
If you are confident to your commits, check "Autodeploy code changes", which will build and deploy your commits automatically.
Configure your application:
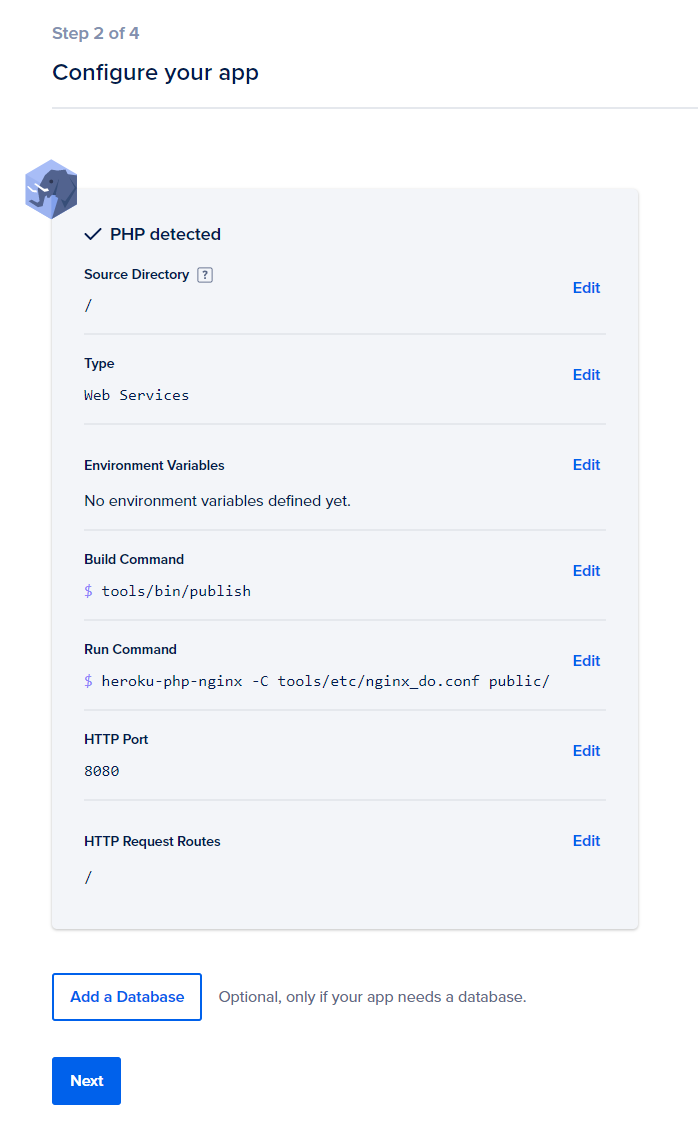
Choose Web Services here for external sites. DigitalOcean App Platform provides other types of app for internal uses.
Set your Build Command like this:
tools/bin/publishThis is same command we tried locally.
Set your Run Command as it:
heroku-php-nginx -C tools/etc/nginx_do.conf public/We write a Nginx configuration for this vendor. In addition, you need to specify application path.
Name your web service:
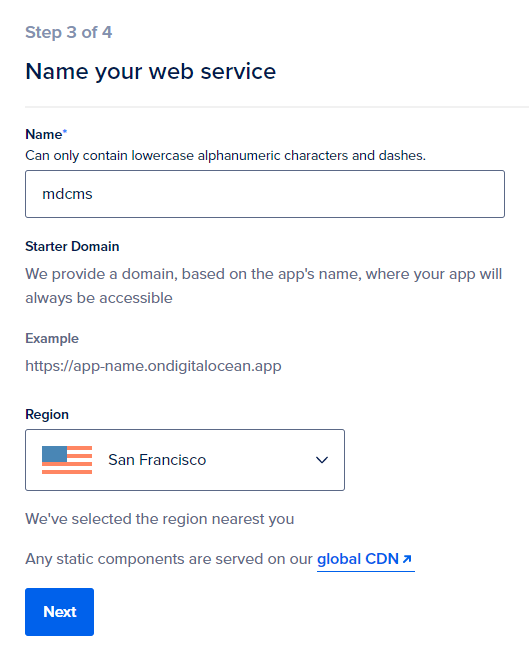
You should choose a region near your audience here, not yourself.
Choose your plan:
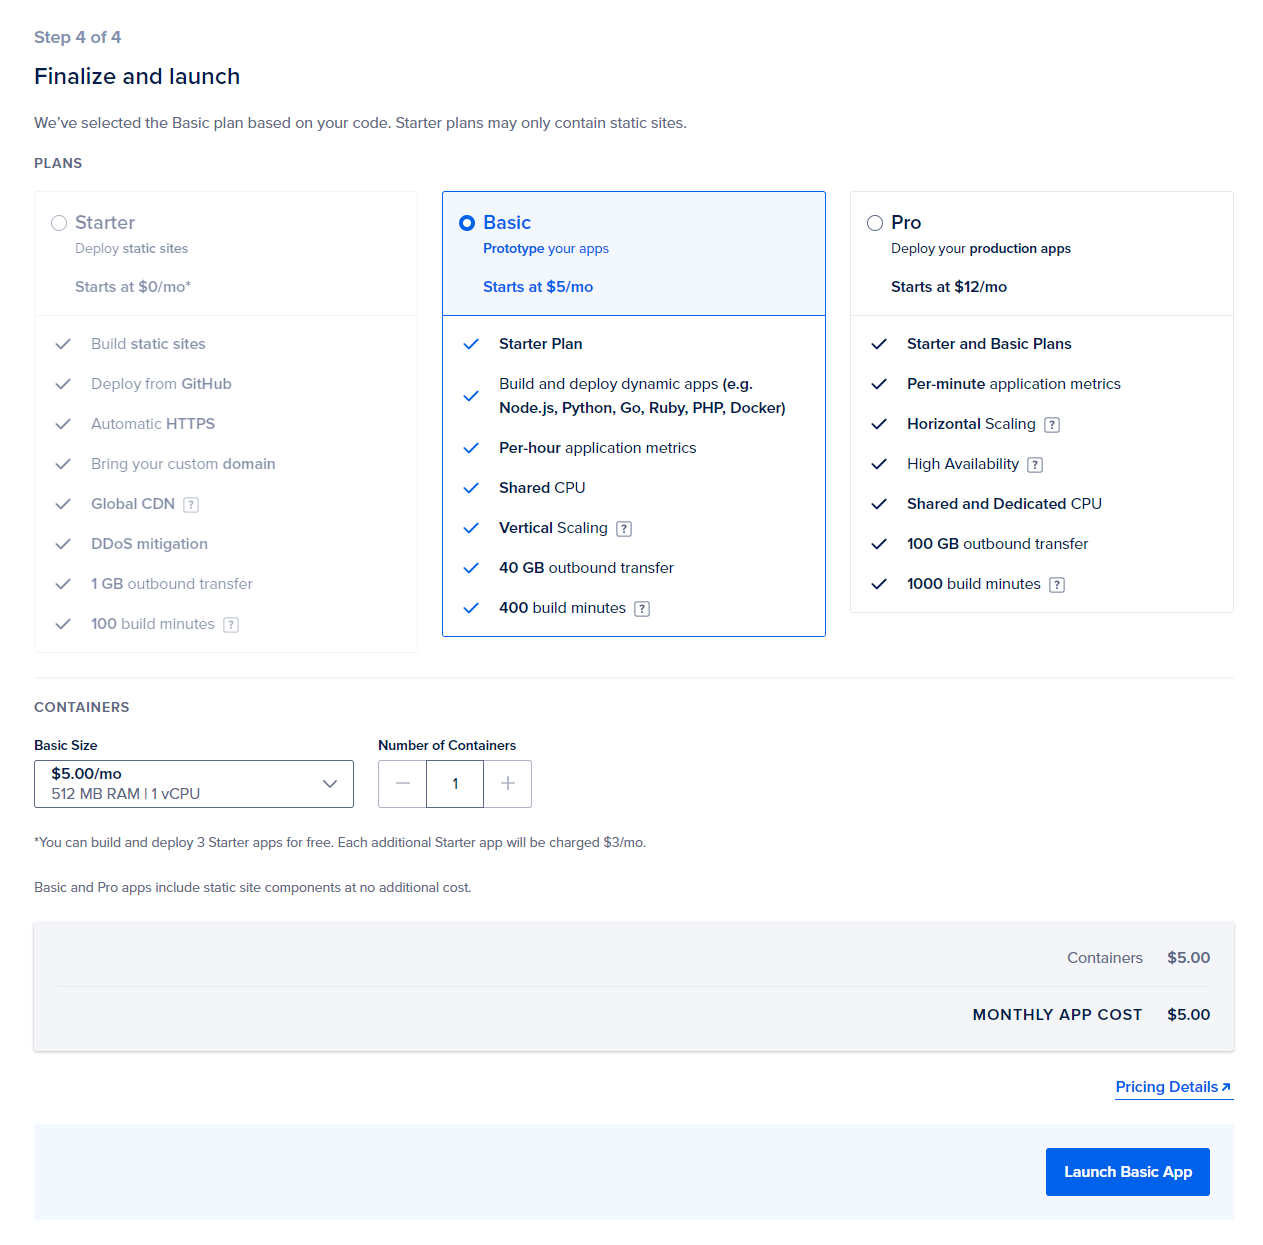
Here we chose Basic because we just wanted to try out the platform.
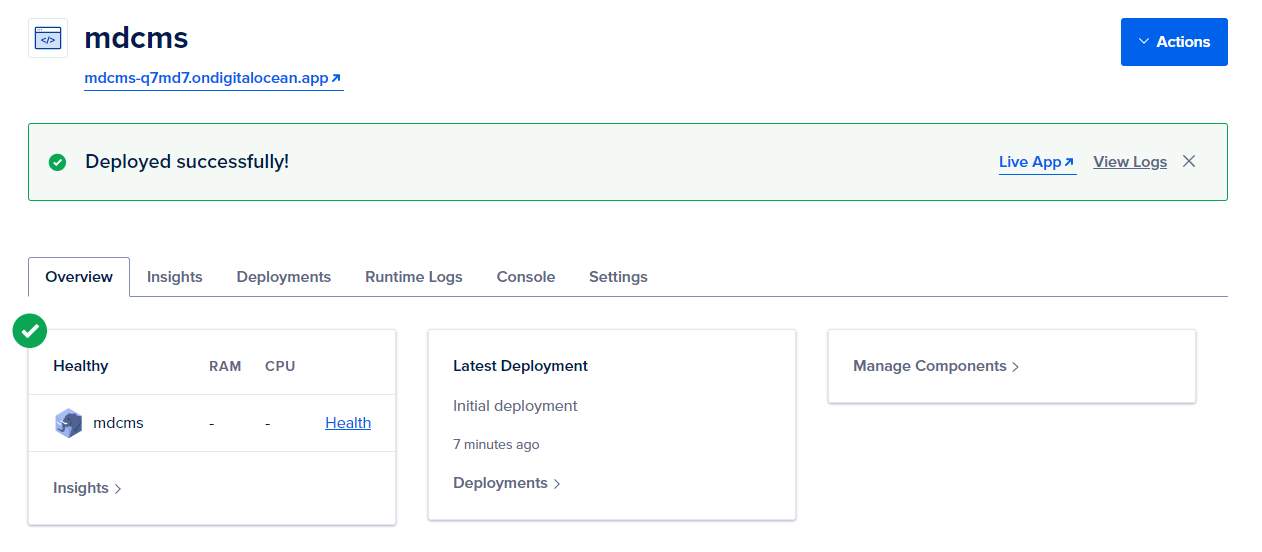
It will take a while to build and deploy your Lightweight CMS site:
Subsequent Deployments
Once your Lightweight site is set, you don’t bother to maintain a web server, which is the reason some programmers choose a PaaS over a VPS. Update your site by committing your changes or triggering a deployment manually.
Set Custom Domain for Your Site
Even if you are satisfied with your PaaS now, you should always set a custom domain. For any reason, you may need to migrate your Lightweight site or other web projects to another host in the future. Here we simulate to set a custom domain on the platform:
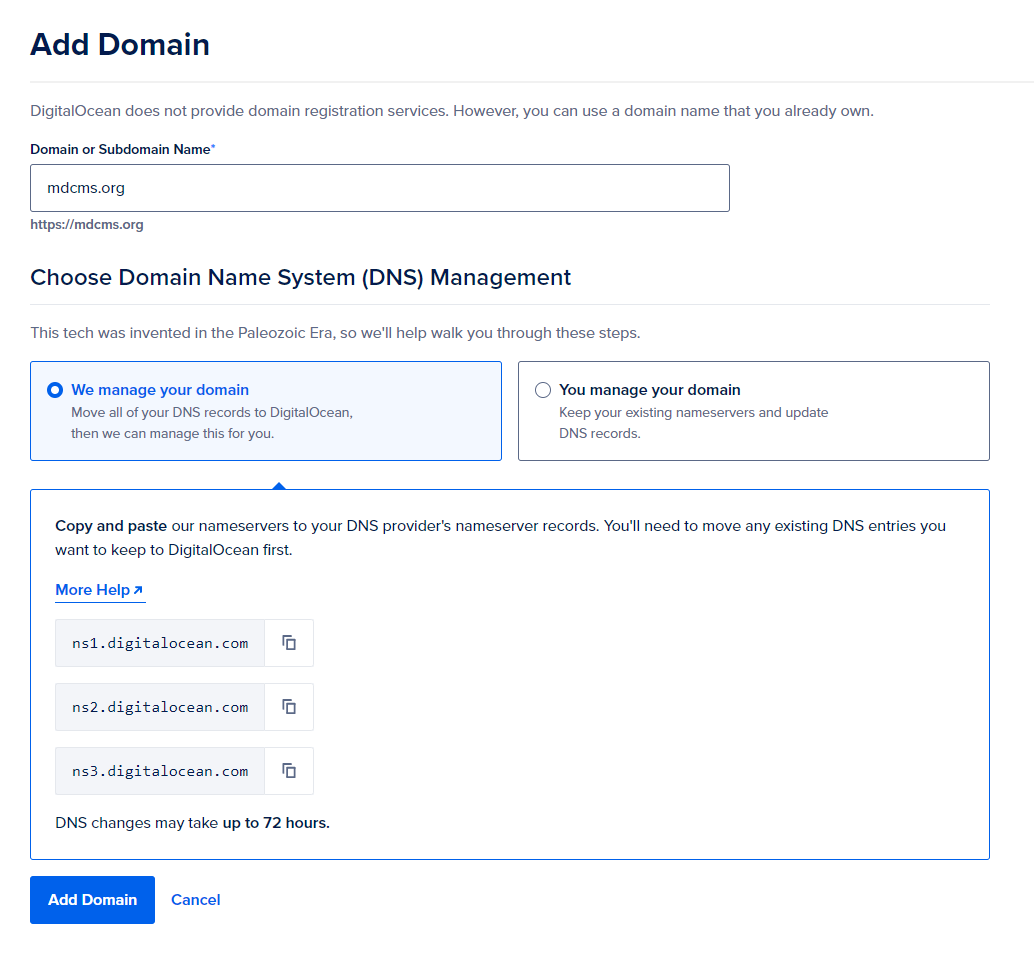
In this case, set your DNS providers as following:
ns1.digitalocean.comns2.digitalocean.comns3.digitalocean.com
Note for PaaS Beginners
Using PaaS instead of VPS is not as easy as you think. You may encounter several failed deployments before first successful one. Read manuals of your PaaS vendor to figure out the tricky parts and possible workarounds.


