前言
Most PHP-powered sites run on GNU/Linux. Lightweight CMS sites are of no exception. Nevertheless, some web programmers prefer Windows during development stage. This article illustrates steps to run Lightweight CMS on Windows.
系統需求
後端
- Production environment
- A web server like Apache or Nginx
- PHP 8.0 or 8.1
- FastCGI Process Manager (FPM) of PHP
- FrontYAML
- (Optional) AsciiDoctor (for AsciiDoc support)
- (Optional) Docutils (for reStructuredText support). Pygments (code highlighting for reStructuredText)
- (Optional) Perl (for global replacement)
- Development environment
- Composer
- PHP Code Sniffer (for linting)
- PHPMD (for linting)
If you are not interested in developing Lightweight CMS itself, you still require Composer to install other dependency packages for Lightweight CMS.
前端
- Production environment
- A modern browser like Chrome and Firefox
- Normalize.css
- Bootstrap 5
- Bootstrap.Native
- (Optional) highlight.js
- Development environment
These dependencies are for default theme of Lightweight CMS. If you utilize another Lightweight CMS theme, your dependencies may vary.
Currently, we utilize Sass as CSS preprocessor and Babel with Flow as JavaScript transcompiler. If you prefer other front end stacks over our choices, you may completely remove those, adding your own. They are independent of Lightweight CMS itself.
建立開發環境
安裝命令列工具
Install Chocolatey first, which is a package manager for Windows used to install other software.
Install PHP:
> choco install php --version=8.1.21
At time of our writing, many GNU/Linux distributions still provide PHP 7 rather than PHP 8. Therefore, we install PHP 7 intentionally.
Install Composer, a package manager for PHP:
> choco install composer
Install rsync(1) for Windows:
> choco install rsync
Install sed(1) for Windows:
> choco install sed
(Optional) Install Perl from either ActivePerl or Strawberry Perl.
安裝 Laragon
Download installer of Laragon from its official website. Doubly click the installer to install Laragon.
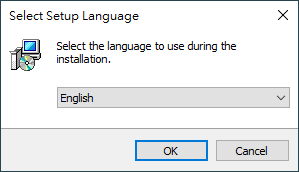
Select the lauguage shown during installation:
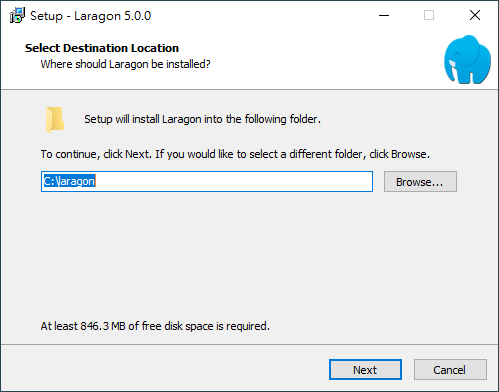
Select destination location to install Laragon:
Select additional settings if needed:
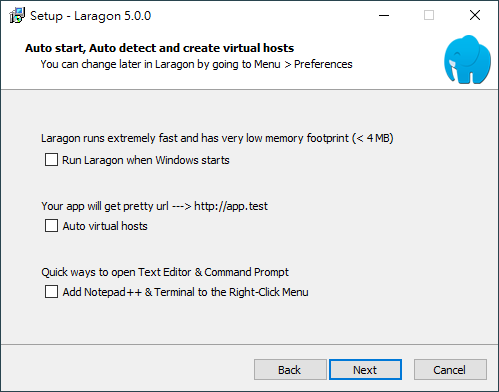
We don't need these settings. Therefore, we unselect all.
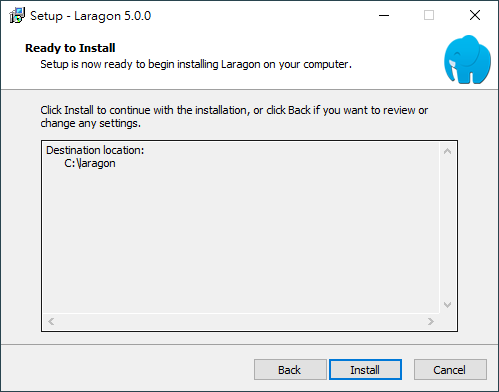
Check all settings before install Laragon:
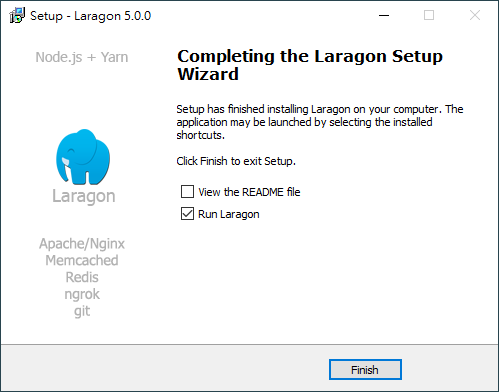
The installation is done:
Enable required services:
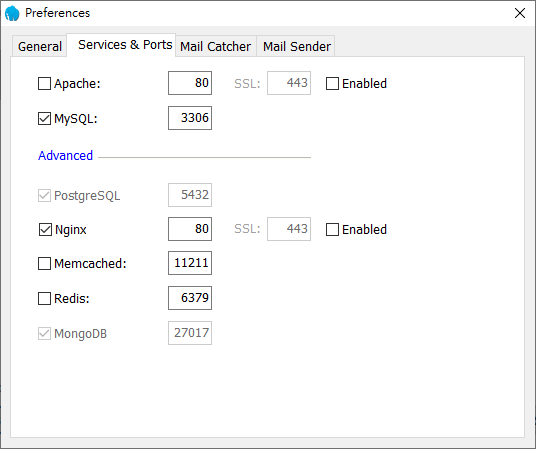
We substitute Apache with Nginx here. If you don't need MySQL now, disable it temporarily.
You may encounter some warning from Windows Defender (a builtin firewall for Windows):
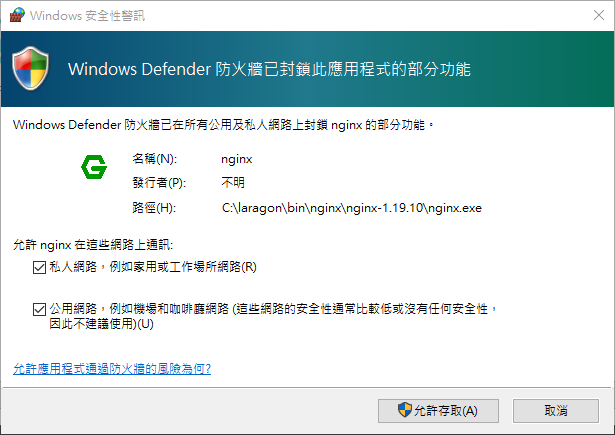
Simply enable it. We don't use Laragon on production environments, stopping all services after development.
Set your Nginx configuration accordingly. Here is a sample configuration.
用法
Clone Lightweight CMS locally and rename it:
> git clone https://github.com/cwchentw/lightweight-cms.git mysite
Change working directory to root path of the cloned repo:
> cd mysite
Install dependencies for Lightweight CMS:
> composer install --no-dev
Development tools like PHP Code Sniffer mean to lint code, which are not required to run Lightweight CMS.
If you don't want to update your Lightweight CMS snapshot, you may safely remove all sample posts in content directory but not the directory itself, adding your awesome ones.
Instead, if you are going to update your Lightweight CMS copy, follow this guide.
You can run a Lightweight CMS site locally with builtin web server of PHP:
$ .\tools\bin\serve.bat
Alternatively, if you want to simulate a production environment, copy your Lightweight CMS snapshot to Laragon document directory:
> .\tools\bin\sync-to.bat C:\Laragon\www\lightweight-cms
If you alter anything in your Lightweight CMS site, repeat the above command to reflect your change on development environment.
(Optional) Save your Lightweight CMS repo to a remote site:
> git remote set-url origin https://example.com/user/mysite.git
> git push -u origin master


